This is an excerpt from the Book called “Ultimate Guide To Drywall” by John D.Wagner. Continue reading to learn more about Framing Tips For Drywall, thanks to the author.
Framing Dimensions And Drywall
Drywall comes in a standard 48-inch width because most framing codes require either a 16-or 24-inch on-center framing schedule. Whichever schedule is used, a 48-inch-wide panel installed parallel with studs or joists should end centered on a framing member.
For this reason, it’s critical that you work with accurately framed studs and joists. Each pair of adjoining panels must normally share a two-by that measure only 1/2 inches wide. If a framing member is misaligned by as little as ½ inch, it can throw off your dry walling, because points along their edges for nails or screws.
Installing Nailer Blocks
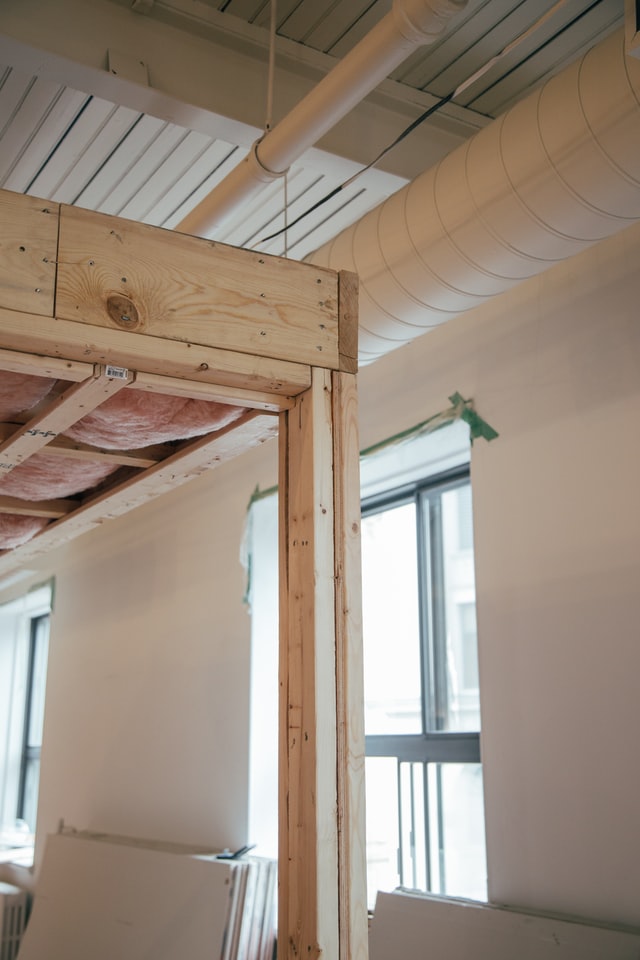
Builders often install top wall plates (the horizontal 2x4s or 2x6s that cap stud- framed walls) directly under ceiling joists. This can lead to problems later because it provides no fastening base (or lip) for the edge of ceiling drywall. Without backing, the panel edge joint can crack over time-sometimes even when pressure is applied during painting. To add a fastening base, install a block that runs the full length of the top plate and extends half of its width beyond the top plate’s inside edge. When installing panels, nail or screw them to this blocking as you would to any stud or joist.
The Pros Know—-
When you install drywall on a ceiling, you can orient panels either perpen- circular or parallel to the ceiling joists. Neither approach makes taping the joints any easier, but panels will sag less if installed across the joists rather than aligned with them lengthwise.
On walls, horizontal orientation may not only reduce the linear seam footage, but it can also make taping easier. Because the joint falls approximately at waist level, you don’t have to reach overhead to finish the top half of every panel
Backing Joints And Edges
Optimally, panel edges should be fastened flush against framing members, whether they be furring strips, pieces of blocking, studs, or top/bottom plates. However, in some situations-for example, where drywall is installed horizontally on stud-framed walls or ceiling joists-no backed edges will bridge stud or joist bays. In these cases, you’ll want 16-inch-on-center framing in order to reduce as much as possible the span between studs.
Of course, a remodelling job gives you no control over the existing framing, and you may be forced to drywall over 24-inch-on-center studs. If this is the case, and you’re installing thinner (3/8-inch) panels, you’ll need to install horizontal blocking between the stud bays. If you can’t install blocking, either orient the drywall vertically or use thicker panels.
When installing full-length panels, you may be tempted to position two flush ends so that they meet in the middle of a stud bay. However, this would leave the end-butt joint unbaked, making it vulnerable to any slight pressure. To save yourself messy repair work later on, always back joints with a stud or furring strip, even though this often requires trimming the panel to length. The same holds true for tapered edges. These long edges should always rest flush against, and be fastened to, some part of the framing, either furring strips, studs, or top plates.
Staggering End-Butt Joints
In many drywall jobs, you can’t avoid creating end butted joints (between untapered panel ends). This is especially true in long runs on walls or ceilings.
Because end-butt joints make for difficult finish work and tend to draw attention to themselves (even when neatly finished), it’s best not to align them on adjacent rows of drywall. If you must have end-butt joints, try to place them opposite each other near the ends of a wall. On ceilings or walls with long runs, start your first row of drywall with a half panel, the second row with a full panels, and so on, much the way a house is stagger-sheathed with plywood.
Checking & correcting alignment
With today’s declining lumber quality, more and more studs are bowed, cupped, or twisted. This can create problems for the drywaller, who depends on precise, predictable spacing between studs, in additions; very piece of framing should lie in the same plane so that drywall panels will hang perfectly flat. Inconsistency in the framing caused by bowed studs and misalignment will be broadcast through the drywall as wavy walls or bulges for all to see in the finished job.
If part of a built-up ceiling beam or corner post pro-trudes, the panel must ride over this obstruction and will likely crack check when you nail it home from the other side. If you can’t pound down the obstruction with a framing hammer, use a surface-forming rasp to carve a shallow seat for the obstruction in the back of the drywall.
Detecting A Misaligned Stud
Tools and Materials
- Measuring tape
- Three identical standoff blocks
- Three IOd nails or drywall screws
- Sturdy string as long as the wall
- Hammer or cordless screw gun
- Install Blocks.
Attach one block at each end of the stud wall. Also partially attach a fastener to the side of the block. The blocks should be at the same height.
- Tie On String.
Tie a string to the fasteners so that it stands of the stud wall a distance equal to the depth of the blocks.
- Check For Level Plane.
Try to slide the third block beneath the string. If studs or bowed outward, the string will impede the block, and you’ll have to stretch the string to get it around the block. If studs are bowed inward, there will be a space between the block and the string. Check very stud in your wall.
- Check On-Center Stud Spacing.
Use a measuring tape to make sure that the on-center spacing is consistent form stud to stud. Keep in mind that some studs must provide anchorage for two panels, so the on-center distance should come close to the center of those studs, no more than ¼ inch out of alignment. Correct a misplaced stud by withdrawing the nails, repositioning the stud, and retailing it in its proper location
- Check to see if a wall is straight by using the string-and-black standoff method. Use three blocks the same size. set one on each end of the wall with a string between them.
- tie off the string at one end, and then pulling the string taut, loop the string several times around the other screw, this will capture the string and keep it from slipping.
- The gap or the bow between the string and the block will demonstrate the relationship of the stud to the rest of the wall.
- Before dry walling, check to make sure the on-center distance between studs is consistent. Once the drywall is in place and hiding the studs, you will use the on-center spacing to guide the placement of fasteners.
